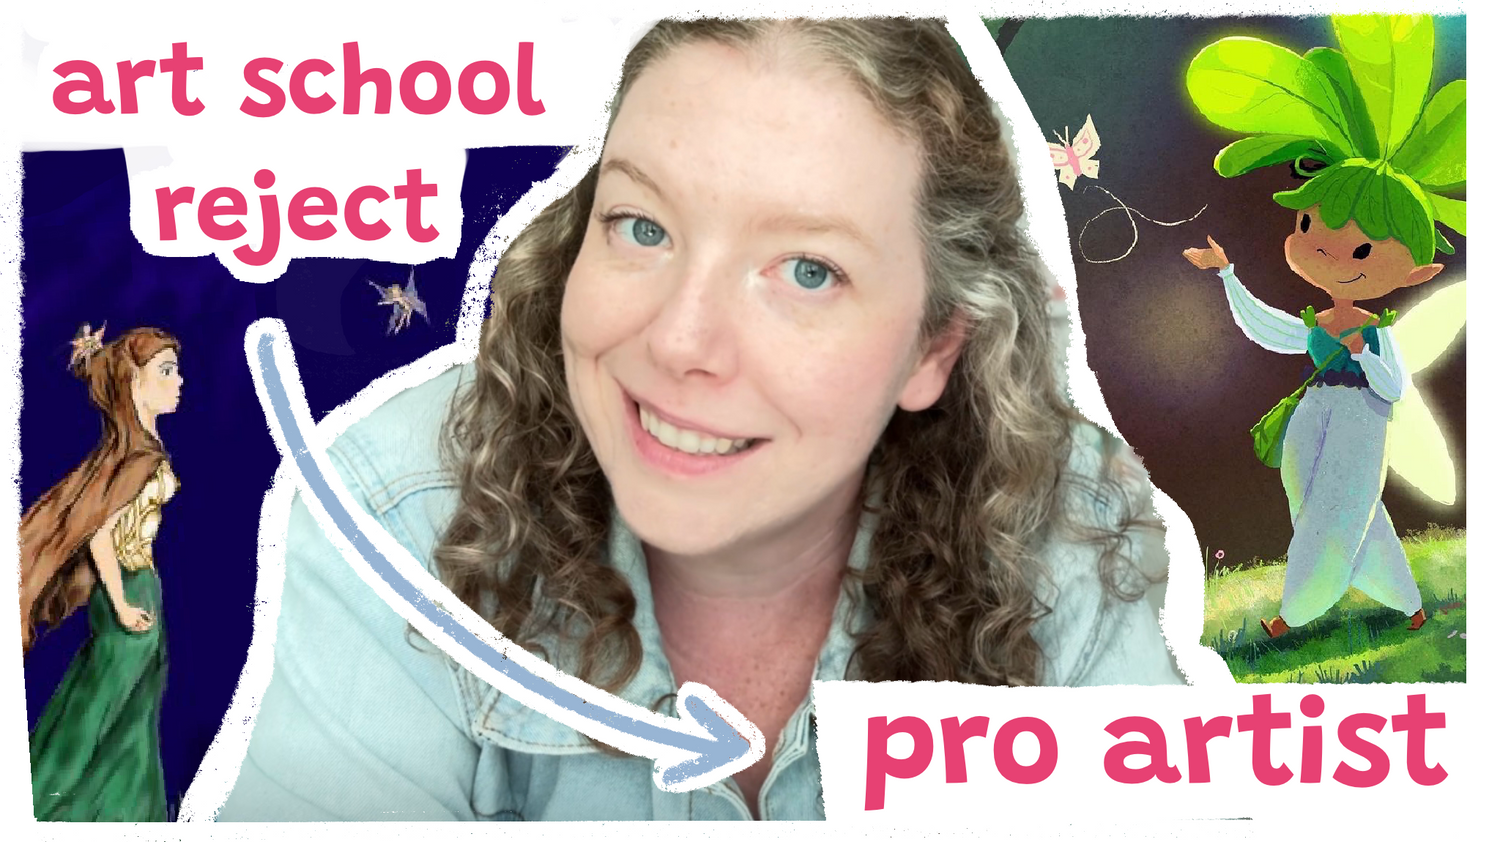
Hey ya'll!
I’m Carlianne, and today I’m so excited to talk about my favorite thing in art…everything that’s cute!
I’ve actually come up with a four-step process to make any face drawing look instantly adorable, and I can’t wait to walk you through it. So, let’s jump right in and make some cute art!
Want to see this process done live? Or simply more of an auditory learner? Check out this video for the live step-by-step process!
Step 1: Rounder Shapes = Cuter Faces
The first thing to think about when making a face look cute is its shape. If you look at children's faces, they’re rounder rather than long. Giving a character a long face can unintentionally make them look older—or sometimes even a little creepy.
So, to make a face look cuter, I recommend keeping it more circular. It doesn’t have to be a perfect circle, but definitely avoid making it too tall. Just by adjusting the proportions to be rounder, you’ll already start to see the cuteness level go up!

Step 2: Big ol' Forehead
For the next step, we’re going to move the facial features down to the lower half of the face. You might be thinking, Wait, won’t that make the forehead huge? And yes, it will! But that’s totally okay because kids naturally have big foreheads.
Since we’re stylizing and pushing proportions for cuteness, this works in our favor. Just grab the eyes, nose, and mouth and shift them down. And if that big forehead is throwing you off, you can always adjust the hairline to balance it out. Trust me, this one change makes a huge difference!

Step 3: Bigger Eyes, Smaller Mouth
Now for one of the most important steps—making the eyes bigger and the mouth smaller.
Bigger eyes automatically make a character look more youthful and expressive, while a smaller mouth helps create contrast. If all the facial features are big, it can be visually overwhelming. By keeping the eyes as the focal point, the face instantly looks cuter.
A quick tip here—when outlining the eyes, be careful not to make the lines too thick, or it might start to look like eyeliner (unless that’s the style you’re going for). Also, make sure to clean up any sketchy or extra lines around the eyes because they can accidentally make the character look older, almost like wrinkles. Keeping the eye area smooth and clear enhances that youthful look!

Step 4: Add Personality and Small Details
This final step is where you get to have fun and make the drawing truly your own.
Think about what makes a character unique or relatable—small details can really bring them to life. This could be freckles, accessories like hats or bows, or even a little expression that adds charm.
Adding these details makes the character more engaging and gives them personality, which ultimately makes them even cuter.

That’s It! Four Simple Steps to Maximum Cuteness
And there you have it! Just by adjusting the face shape, lowering the features, enlarging the eyes, and adding personality details, you can take a drawing from pretty good to super cute in no time.
I’ve had so much fun sharing this process with you! Let me know in the comments what kind of content you’d like to see next—I’m always taking requests.
And if you want a full book of easy-to-follow art tips, be sure to check out my award-winning book How to Draw Adorable: Joyful Lessons for Creating Cute Art.
Now go forth and make some ridiculously cute art! 🎨✨